Appearance
Website Management
Agora allows you to manage multiple websites from a centralized interface. This guide covers adding, configuring, organizing, and maintaining websites for accessibility testing.
Overview
Website management in Agora includes:
- Adding new websites for testing
- Configuring website settings (authentication, scanning options)
- Managing URLs and pages within each website
- Organizing websites with tags and grouping
- Monitoring scan status and results across websites
Adding Websites
Basic Website Information
When adding a new website, you'll provide:
| Field | Description | Required |
|---|---|---|
| Website URL | Technical identifier (usually domain) | ✅ Yes |
| Display Name | Friendly name shown in the interface | ❌ Optional |
| Sitemap URL | XML sitemap for automatic page discovery | ❌ Optional |
Website Addition Process
- Navigate to Dashboard: From the main dashboard view
- Click "Add Website": Use the + Add Website button
- Fill required fields:
Display Name: My Company Website URL: https://www.mycompany.com Sitemap URL: https://www.mycompany.com/sitemap.xml - Save Website: Click "Add Website" to create
URL Requirements and Validation
Valid URL Formats:
https://example.com✅https://www.example.com✅http://example.com✅ (less secure)https://subdomain.example.com✅
Sitemap Integration
If you provide a sitemap URL, Agora can automatically discover pages:
Benefits of Sitemap Import:
- Automatically discovers all pages
- Keeps page lists up-to-date
- Enables bulk scanning operations
- Identifies new pages as your site grows
Sitemap Requirements:
- Must be valid XML sitemap format
- Accessible from the internet (or your network)
- Contains
<url>elements with<loc>tags - Preferably updated regularly
Website Configuration
General Settings
Each website has configurable settings accessible through the Settings tab:
Basic Information
- Display Name: Update the friendly name
- Sitemap URL: Add or update sitemap location
Authentication Settings
For websites requiring login:
- Basic Authentication: Username/password for HTTP basic auth
- Form-Based Login: Configure login form automation
Scanning Configuration
Scan Behavior
- Use Headless Mode: Faster scanning without visual browser
- Enable Page Scrolling: Scroll pages to load lazy content
- Page Load Timeout: How long to wait for pages to load (default: 30 seconds)
- Delay After Load: Additional wait time after page loads
WCAG Rules
- WCAG 2.1 AA Rules: Standard accessibility compliance
- WCAG 2.1 AAA Rules: Stricter accessibility standards
- WCAG 2.2 Rules: Latest accessibility guidelines
- Custom Rule Sets: Apply specific rule configurations
Report Settings
Default Export Options
- Export Directory: Where to save generated reports
URL and Page Management
URL Tab Overview
The URLs tab shows all pages within a website:
| Column | Description |
|---|---|
| URL | The page address |
| Status | Scan status (Not Scanned, Scanning, Completed, Error) |
| Score | Accessibility score (0-100) |
| Last Scan | When the page was last tested |
| Actions | Scan, view results, delete |
Adding URLs Manually
- Navigate to Website: Click on your website from the dashboard
- Go to URLs Tab: Switch to the URLs section
- Click "Add URL": Use the + Add URL button
- Enter URL Details:
- Full URL (including protocol)
- Save: Click "Add" to include the URL
Bulk URL Management
Import from Sitemap
- Click "Fetch URLs from Sitemap": Available when sitemap URL is configured
- Monitor Progress: Watch the import progress indicator
- Review Results: See how many URLs were discovered and added
URL Status Management
Scan Status Types
- Not Scanned: URL hasn't been tested yet(status is empty)
- Completed: Successfully scanned (status 2xx)
- Warning: Scan completed with warnings (status 4xx)
- Error: Scanning failed (status 5xx)
Bulk Operations
- Scan All URLs: Test all pages in the website
- Scan Unscanned: Only test pages that haven't been scanned
- Scan by Tag: Test pages that match the selected tag's pattern.
Website Organization
Tagging System
Organize your URls with custom tags.
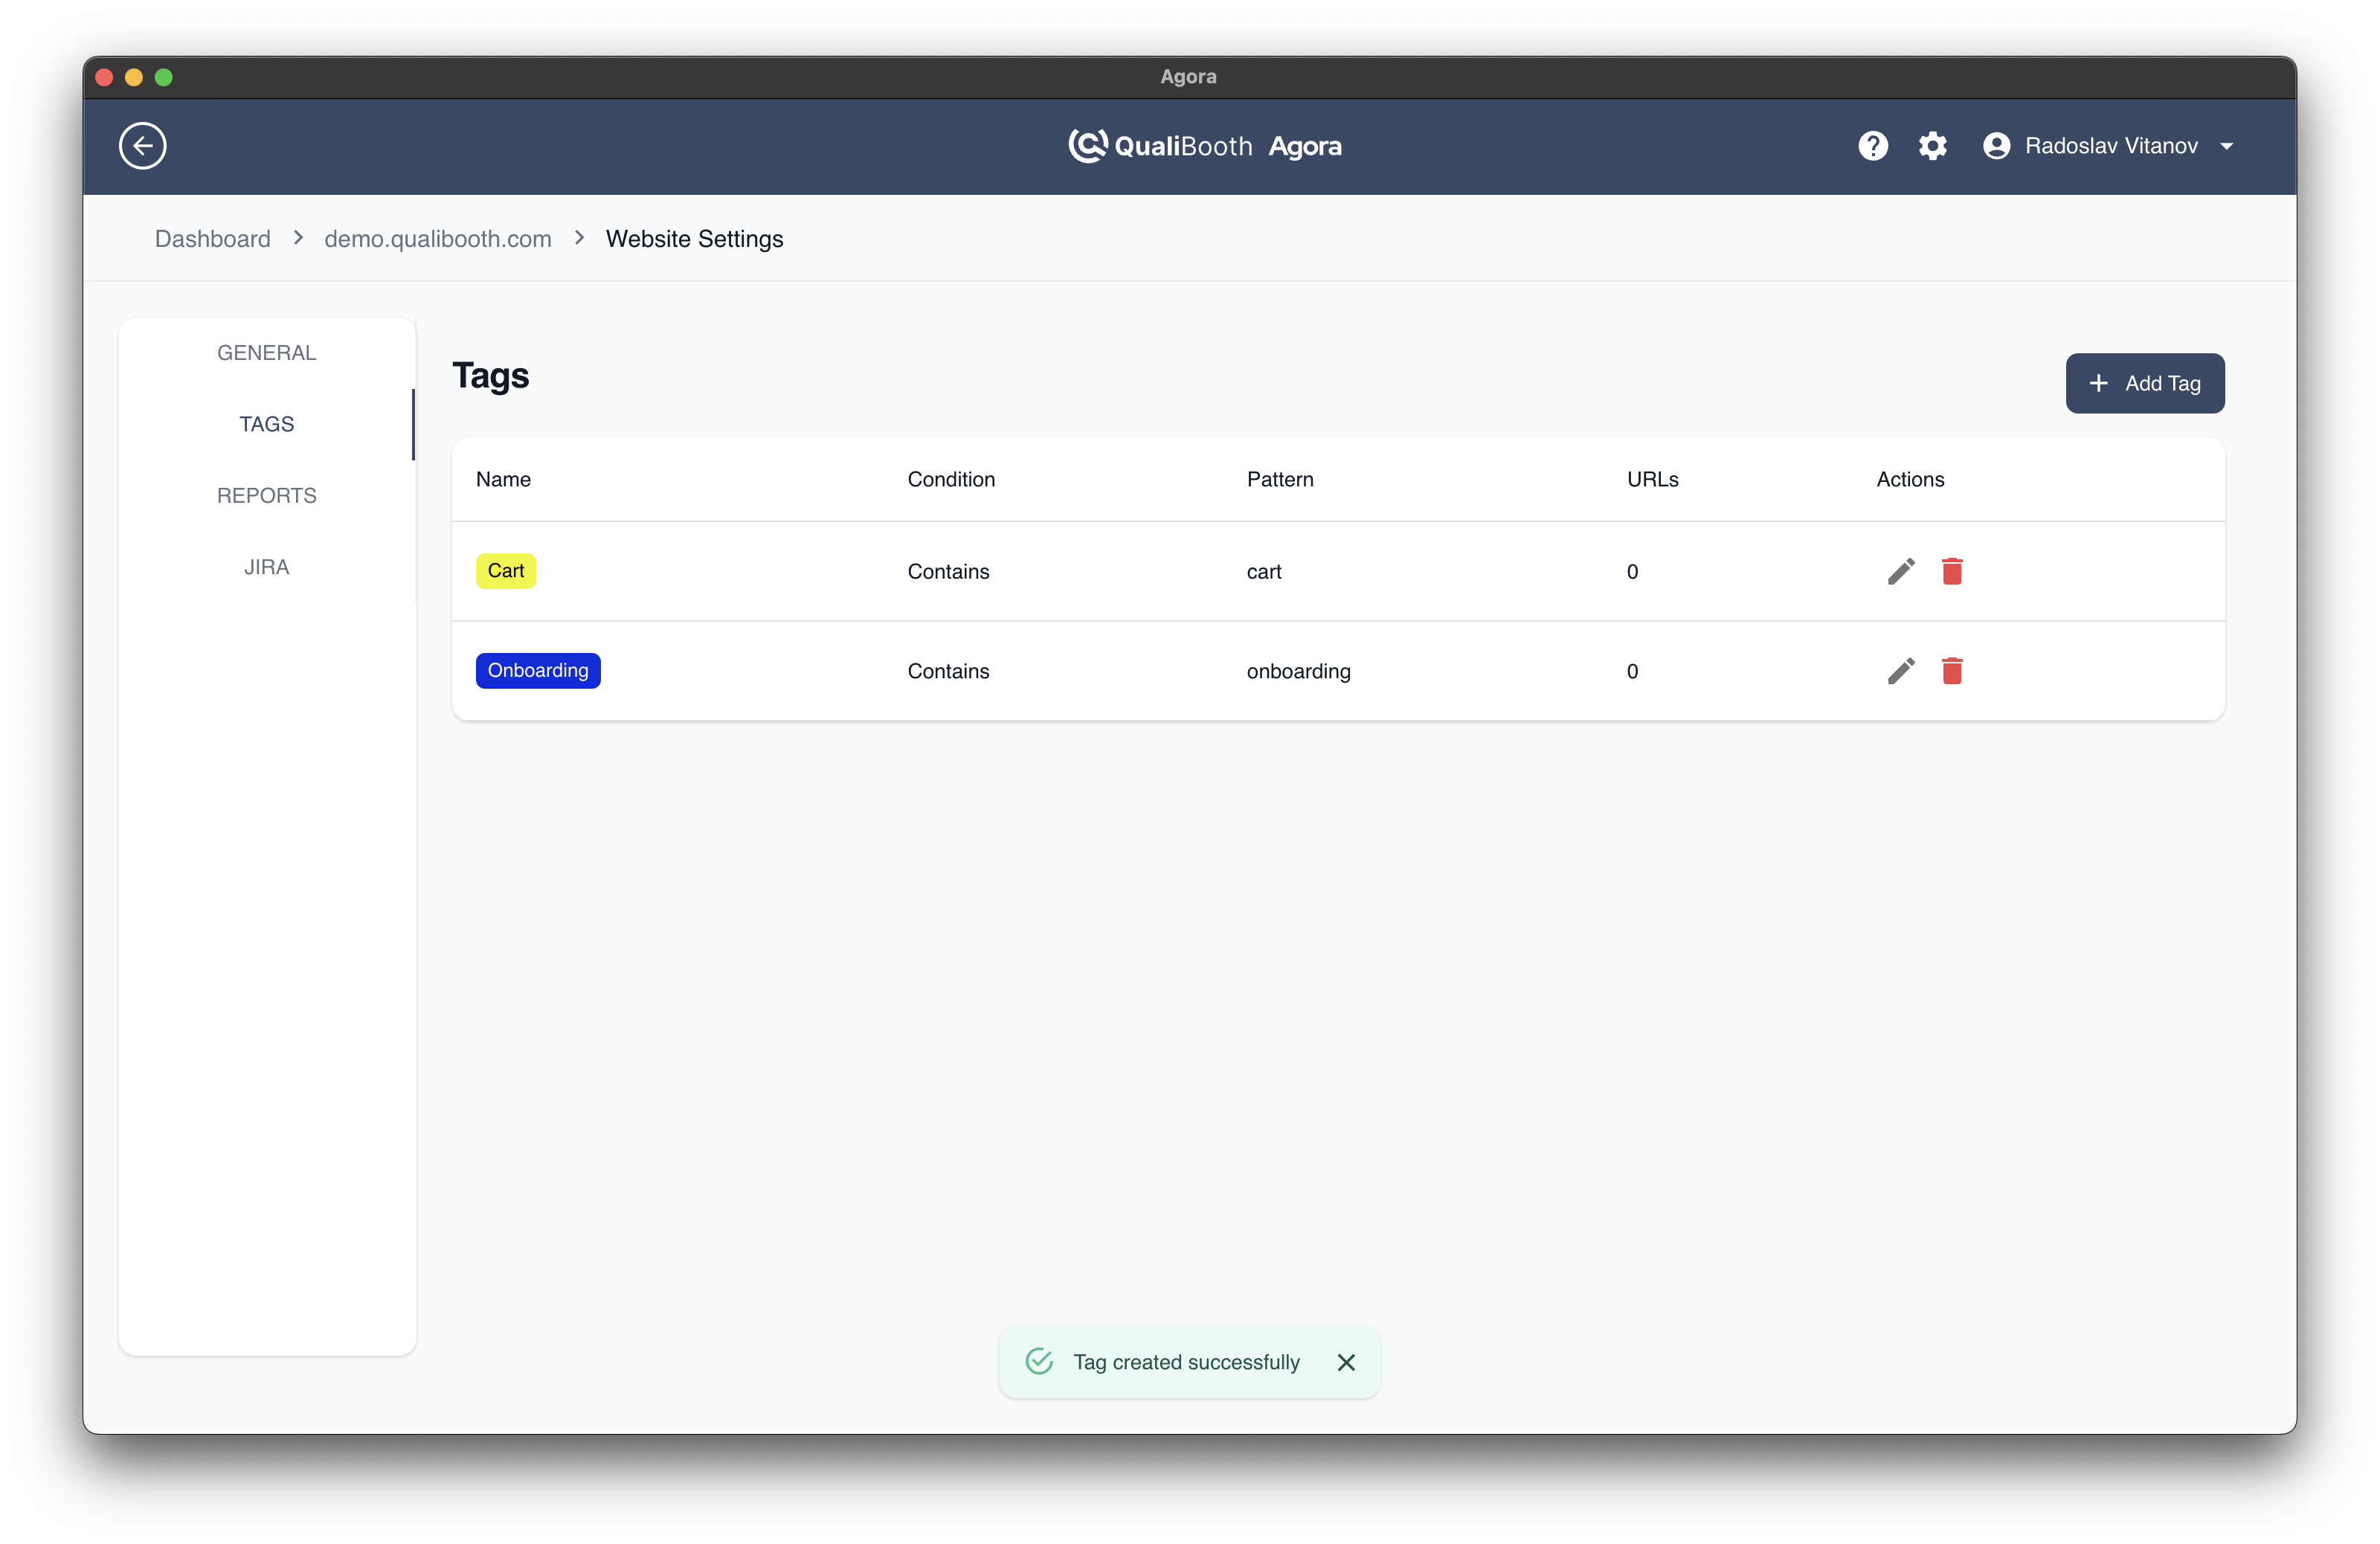
Creating Tags
- Go to Tags Tab: In website settings
- Click "Add Tag": Create new website tag
- Choose Color: Select distinctive color for visual organization
- Set Label: Use descriptive names (e.g., "Production", "High Priority")
Applying Tags
- Multiple Tags: Each website can have multiple tags
- Dashboard Filtering: Filter websites by tags on website dashboard
- Scanning: Perform scans only on URls matching the tag's pattern
Monitoring and Maintenance
Dashboard Overview
The main dashboard provides websites status at a glance
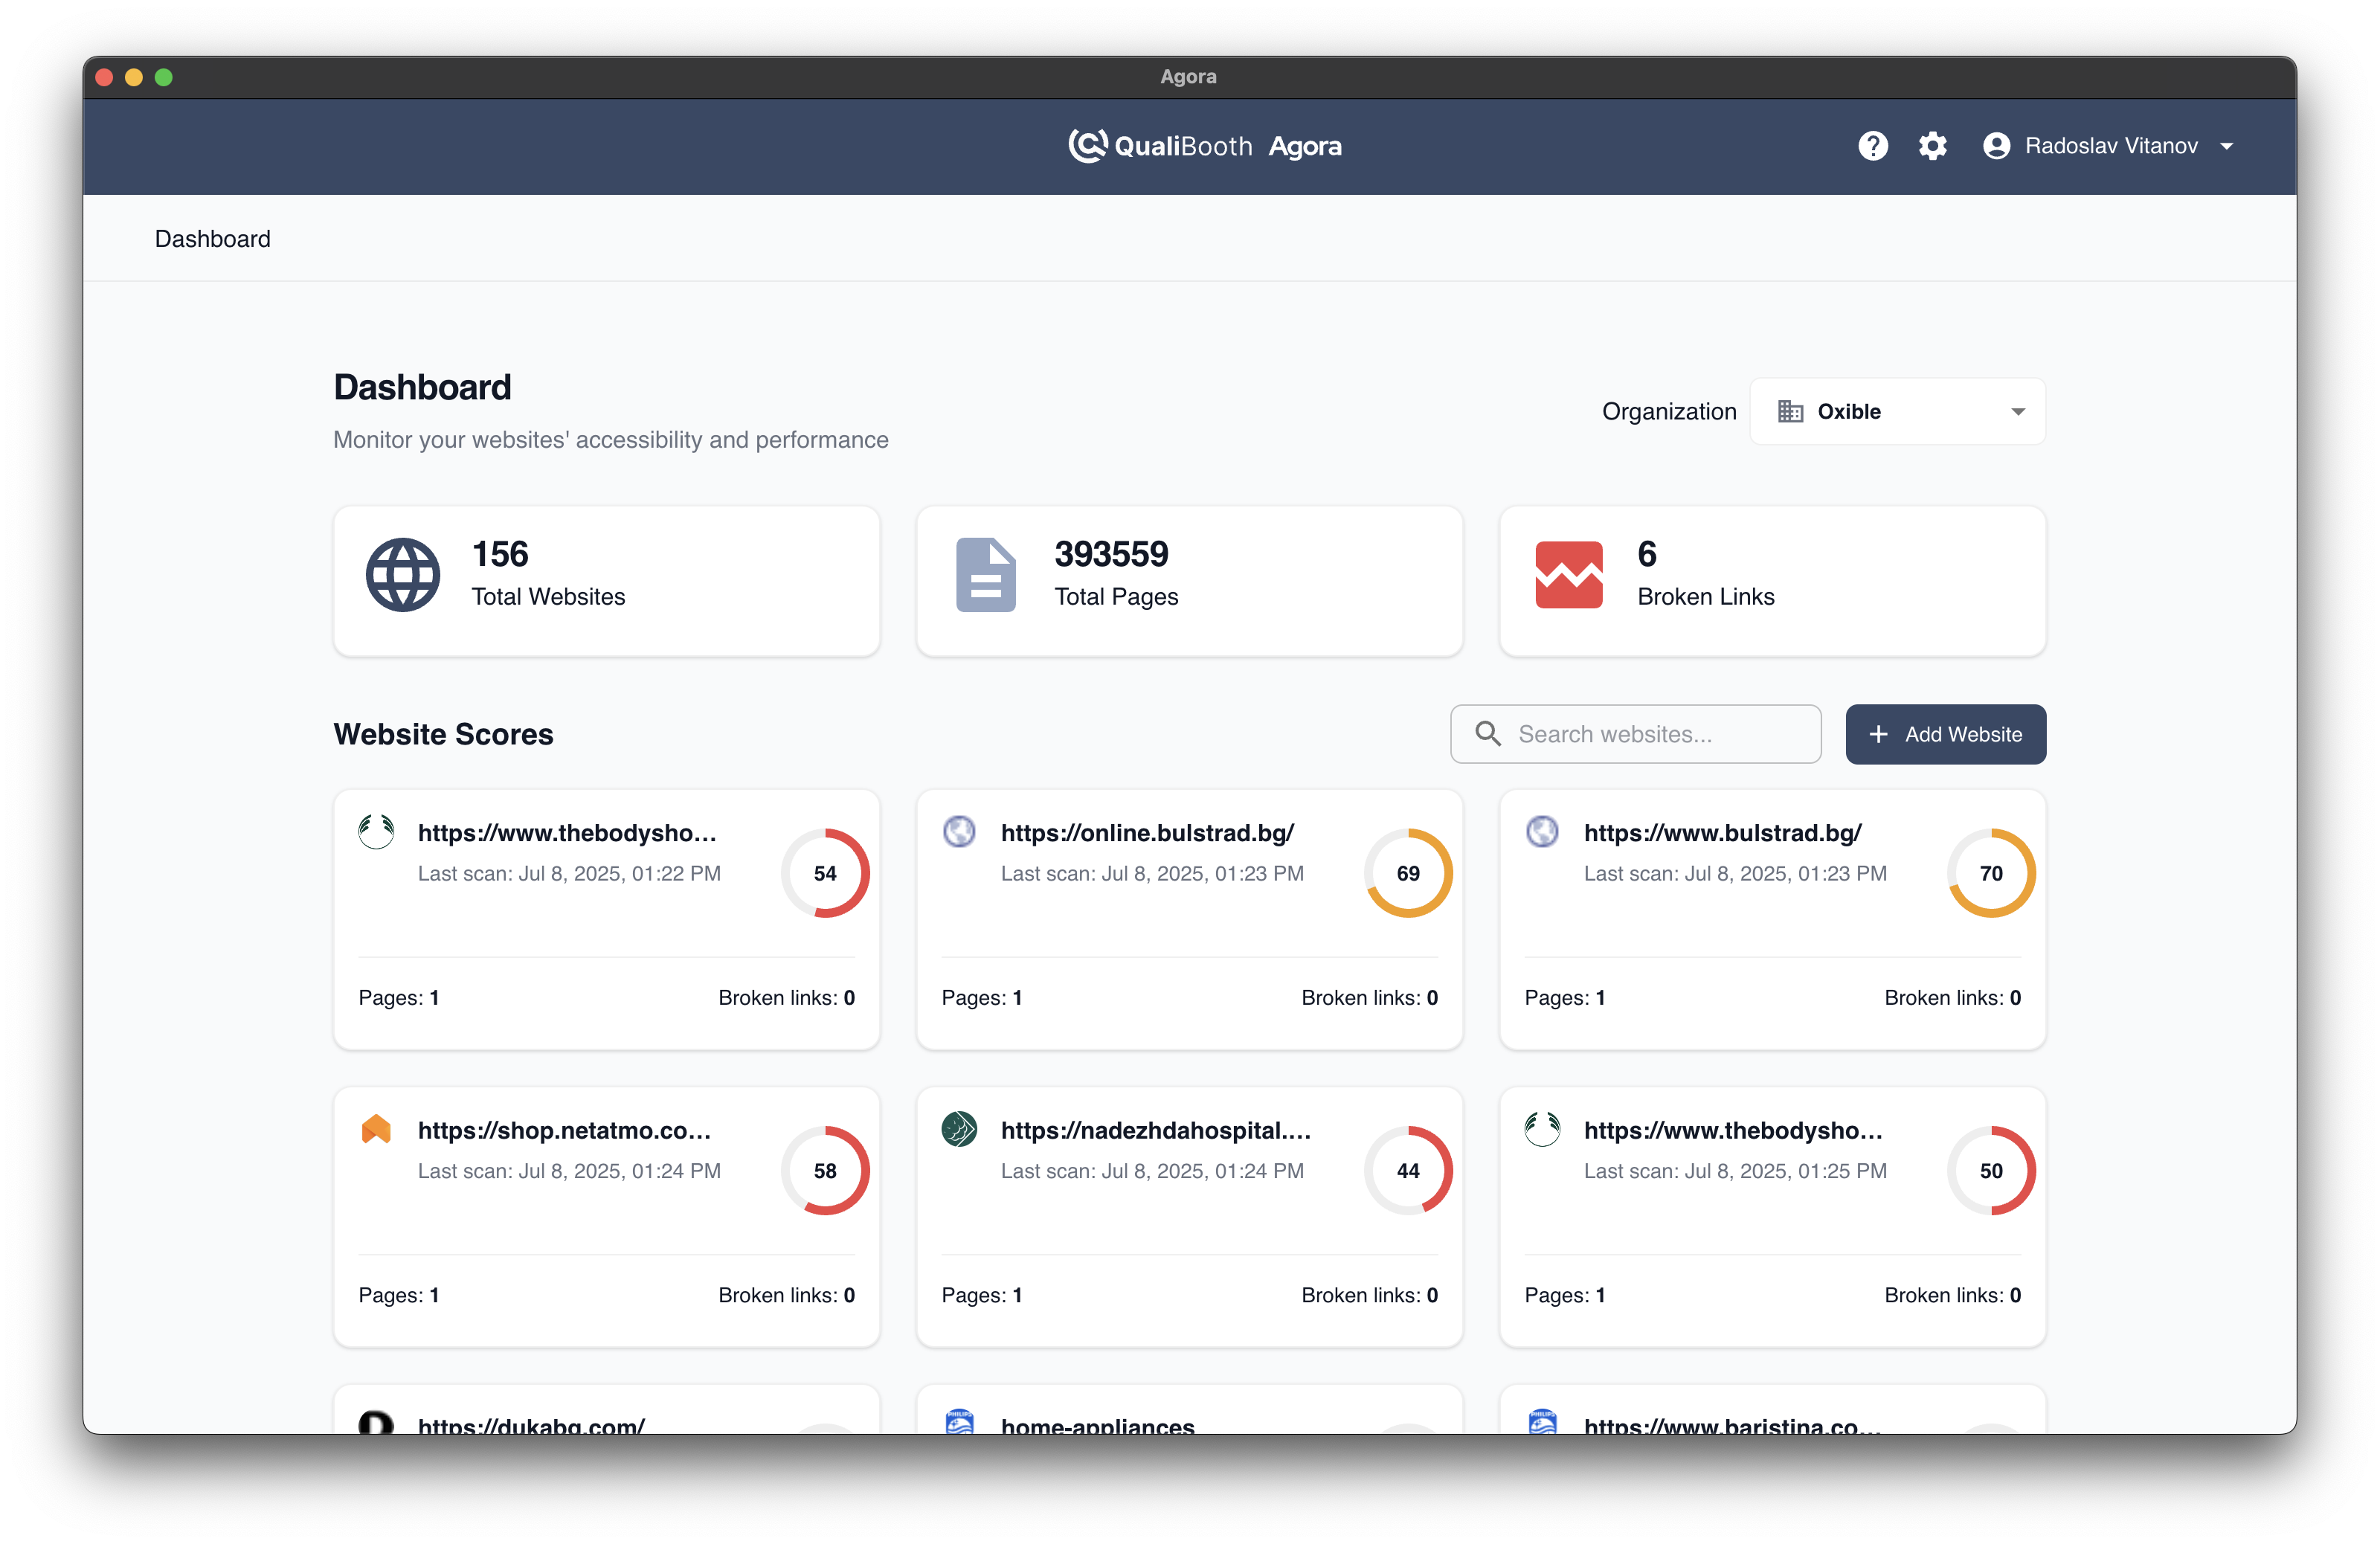
Website Cards
Each website shows:
- Name and URL: Quick identification
- Accessibility Score: Current overall score
- Scan Status: Current scanning state
- Last Scan Date: When results were last updated
Ongoing Maintenance
Regular Scanning
- Manual Scans: Run on-demand scans when needed
- Scan After Changes: Test after content or design updates
URL List Maintenance
- Sitemap Sync: Regularly sync with sitemap for new pages
- Remove Broken URLs: Clean up pages that no longer exist
- Update Page Titles: Keep page information current
Performance Monitoring
- Scan Duration: Monitor how long scans take
- Error Rates: Track pages that fail to scan
Website Deletion and Cleanup
Deleting Individual URLs
- Select URL: Choose the page to remove
- Click Delete: Use the delete action button
- Confirm: Acknowledge deletion warning
- Result: URL and all scan results are permanently removed
Deleting Entire Websites
- Website Settings: Go to website configuration
- Delete Website: Click the delete website option
- Confirm Deletion: Click on confirm button
- Website Removal: Website is archived. All URLs and statistics are deleted
WARNING
The website will be moved to the archive and all scan results, configurations, and historical data will be lost
Best Practices
Website Organization
- Use descriptive names that clearly identify each website
- Apply consistent tagging for easy filtering and organization
- Group related sites (staging/production) for easier management
URL Management
- Start with key pages rather than importing entire sitemaps immediately
- Remove outdated URLs to keep lists manageable
Scanning Strategy
- Test incrementally - add a few pages, scan, then expand
- Monitor scan performance to ensure efficient resource usage
- Regular maintenance - keep URL lists current and remove broken links
Troubleshooting
Common Issues
"Cannot access website"
- Verify URL is correct and accessible
- Check network connectivity
- Ensure website doesn't block automated access
"Sitemap import failed"
- Validate sitemap URL is accessible
- Check sitemap XML format is valid
- Ensure sitemap contains valid URL entries
"Authentication required"
- Configure basic auth in website settings
- Set up proper login credentials
- Check that authentication method is supported
Getting Help
- Review the Troubleshooting section
- Check FAQ for common questions
- Contact support for persistent issues
Ready to learn about browser-based testing? Continue to Accessibility Testing.